
Intellect™
CHARGES MENU OPTIONS

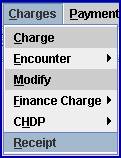
Receipt
Effective version 12.12.14: Receipts may be printed for patients regardless of the account balance. For example, receipts print whether or not the patient pays off the entire balance, or whether or not the patient makes a partial payment toward the balance.
This menu option is used to print a receipt for one or more patients. It is based on the entry date of the charge. To initiate the printing of receipts in Intellect, go to Charges --►Receipt
The Print Receipt screen displays:
1. Account 
1.1 Type the patient account number for which to print a receipt. NOTE: If Registration --► Regular --► Patient <Patient Account No.> and <Guarantor> account are NOT the same on the patient’s Registration screen, enter the guarantor’s account number.
1.2 Press [Enter] to open the Batch Entry dialog screen.
1.3 Individual accounts may be added to print receipts as a single batch. Enter additional account numbers one at a time, and press [Enter] after each one to add.
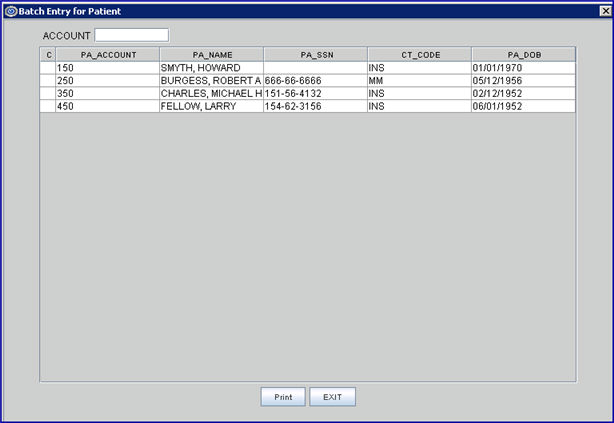
1.4 Click on [Print] to reserve the information for the entered accounts and return to the <From Date> field on the Print Receipt screen.
1.5 Click on [Exit] to return to the <From Date> field on the Print Receipt screen and clear the Batch Entry screen.
1.6 This field must be completed. If it is left blank, this error message displays:

2. From Date 
2.1 Enter the beginning date of the date range for which to print receipts. Receipts are generated based on the entry date of the charge.
2.2 If left blank, Intellect defaults the calendar date.
3. To Date 
3.1 Enter the last date of the date range for which to print receipts.
3.2 If left blank, Intellect defaults the calendar date.
4. When the information is completely entered, select one of these options:

4.1 Select [Print] to display a printer dialog box. See sample below:
4.1.1 Printer properties:
4.1.1.1 Printer: The default printer for the logged-in clinic and password is selected. To select a different printer, either click on the arrow, OR press the → (right arrow) on the keyboard to view the list of printer codes. In our example, the defaulted Printer is HP. This is just an example of a printer name and may or may not be set up on the system.
To select the printer type, click on the code, OR use the ↑ (up) and ↓ (down) arrows to highlight the correct code; then press the [Enter] key to select.
Version 9.12.14 - New option. Receipt can be run as either a server or local task.
Note: If a receipt does not display when VIEW is selected from the drop-down, select DISK, click on [Print], and enter a name for the receipt in the <File Name> field. Receipts are saved in Word format to your computer.
View the receipt by accessing the saved file on your computer.
4.1.1.2 Number of Copies: This field defaults to either 0 (zero) or 1. Both print 1 copy. To print more than one copy, enter the number of copies.
4.1.2 Fax/Email:
This section of the Print Statement Form screen does not apply to receipts.
4.1.3 Select the [Print] button to send your request to the printer. If an error message displays, contact PCS support.
Click on [OK] to display:
4.1.4 Select the [Cancel] button to clear the screen and return to the Print Receipt screen without saving or printing.
4.2 Select [Clear] to remove any information already entered on the Print Receipt screen.
4.3 Select [Exit] to close the Print Receipt screen.