
Intellect™
UTILITY MENU OPTIONS

Set Up
Printer
Scanner Settings
This option is used to create any scanner set up necessary for the Registration --► Doc. Archive to function. Creating different form types provides with a combination of a template and a filing mechanism. This documentation discusses only those items which pertain to the Document Archive set up.
Please note differing scanners with differing driver configurations may give varied options and results. For additional scanner information, see Scanners.
1. To set up a scanner in Intellect, go to Utility --►Set Up --►Printer --►Scanner Settings --►Add:
The Add SCANNER SETTINGS screen opens:
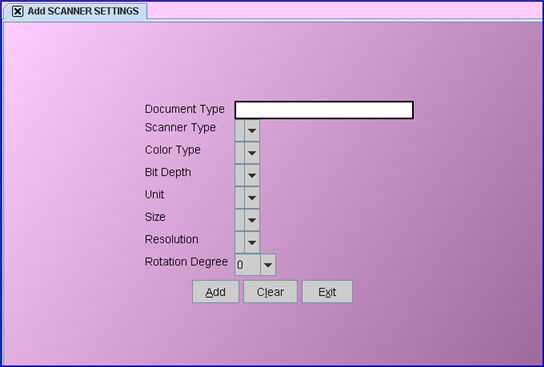
Complete the screen as noted below:
2. Document Type ![]()
2.1 Assign a Document Type code. For example, when scanning patient insurance cards, the Document Type could be named: INS CARD, or AUTH for authorization forms, REG for registration forms, SB for Superbill forms, etc.
3. Scanner Type ![]()
3.1 A drop-down list of scanner drivers installed on the workstation is available. To select the driver from the list, highlight the correct option and press the [Enter] key.
NOTE: If a document type is on multiple workstations which have different scanner drivers, document types need to be defined for each driver on workstations with that driver loaded.
4. Color Type ![]()

4.1 From the drop-down list, select the correct color type for the form(s) to be scanned.
4.2 PCS recommends selecting the black and white (BW) form.
5. Bit Depth: ![]()
5.1 This is automatically defaulted, depending on the selected <Color Type>, or the default scanner driver.
6. Size ![]()
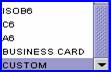
6.1 From the drop-down list, select the appropriate page size.
NOTE: In older software versions, when setting up a document type that is not a standard size, select Custom, then click on [Native Settings ] to define the page size.
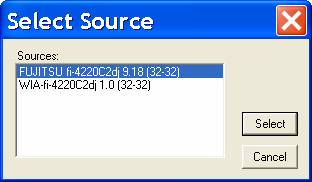
To select the scanner driver from the list, highlight the correct option and click the [Select] button:
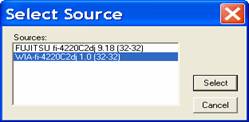
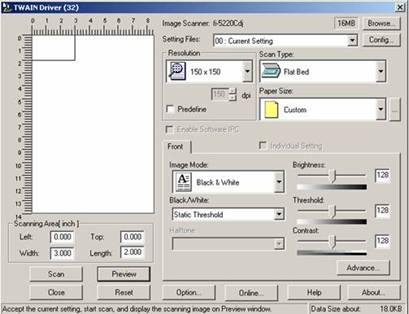
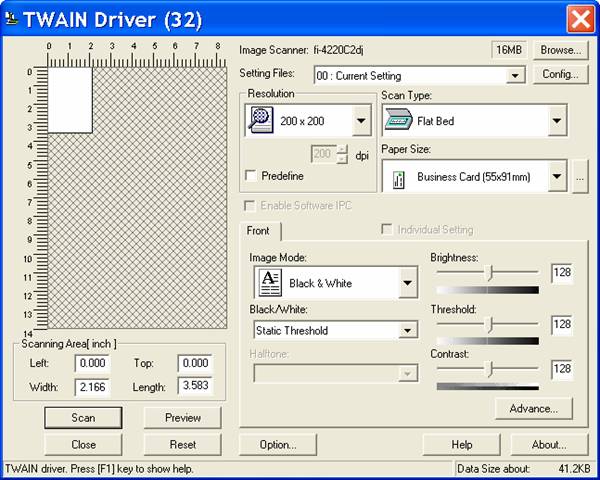
These screen examples vary, depending on the <Scanner Type> (driver) being used:
Set Resolution to 150 x 150 or 200 x 200.
Paper Size is determined by the selection.
Set the width and length for the form to scan.
Scan Type is defaulted based on the scanner driver.
7. Resolution ![]()
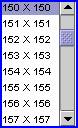
7.1 PCS recommends that this be set to either 150 x 150 or 200 x 200. The resolution determines the quality of the document scanned. Higher resolution gives a clearer image, but also uses a lot more memory. This may become an issue if an office is scanning a large volume of documents. All scanned documents are stored in the database on the server, not the workstation where they are scanned.
8. Rotation Degree ![]()
![]()
8.1 This is usually left at 0 (zero). Depending on the system set up, the media player may need to be activated. Speakers need to be attached to the workstation to hear the instructions.
Note: To view the videos, log-in through the www.primeclinical.com website. Current support is required.
9. When the information is completely entered, select one of these options:

Older versions have an additional [Native Settings] button:
![]()
9.1 Click [Add] to save the scanner record. The screen is not cleared.
9.2 Click [Clear] to clear all information and return the focus to <Document Type>.
9.3 Click [Exit] to clear the screen and return the focus to the main Intellect screen without saving.
9.4 Click [Native Settings] to display the Select Source dialog box:
![]()