
Intellect™
PERIPHERALS AND EQUIPMENT

Dymo Label Writer 450
The Dymo Label Writer 450 may be used to print labels either by using Intellect’s Registration and Schedule main menu options or by using the right-click menu option of Print --►Selected Patient Label. For more information, see Select Labels to Print.
Before using the Dymo Label Writer 450, set up the hardware, computer, and software as explained below.
Once the Dymo Label Writer is correctly set up, select labels to print, and then print labels.
1. Set up the Dymo Label Writer 450 according to the manufacturer’s instructions. If it does not print, contact Dymo printer support.
2. Once the Dymo Label Writer 450 can print, call Prime Clinical and let Support know the type of labels that will be used in the printer. PCS Support will update software as needed and help align the labels for proper printing.
3. Click on Windows’ [Start] button, generally located in the tray in the bottom left corner of the screen.
4. Click on Settings. Look for an option to access printers and devices.
5. Click on the option for Printers and similar devices.
6. Click on Dymo. The Dymo properties are displayed. Click on the General tab.
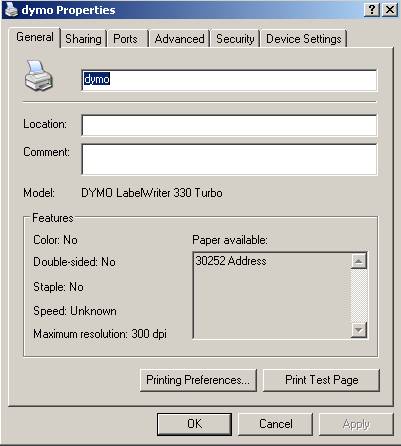
7. Click on the [Printing Preferences] button to display this screen:
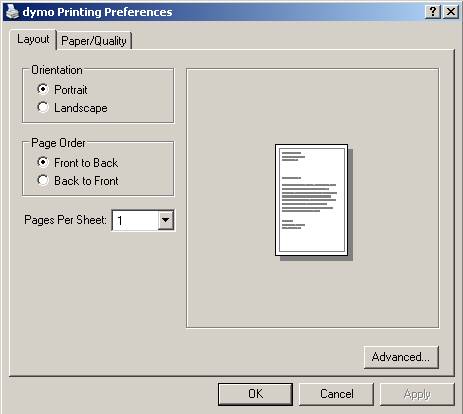
7.1 Click on the Layout tab and verify that the Orientation is set to Portrait and the Page Order is set Front to Back, as shown above.
8. Click on the Paper/Quality tab.
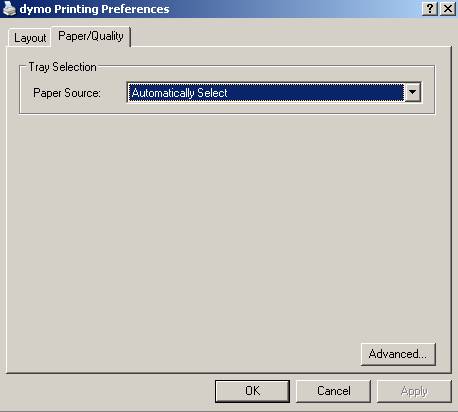
8.1 Verify that Automatically Select is selected as the Paper Source and then click on the [OK] button.
9. Click on the Sharing tab.
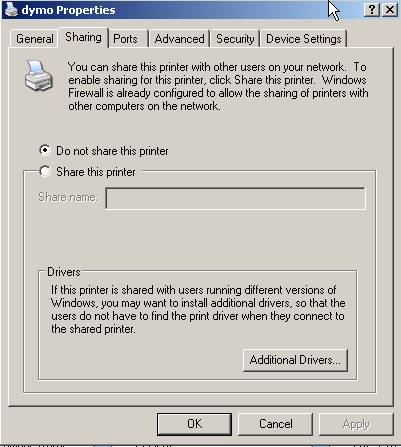
9.1 Verify that Do not share this printer is selected and then click on the [OK] button.
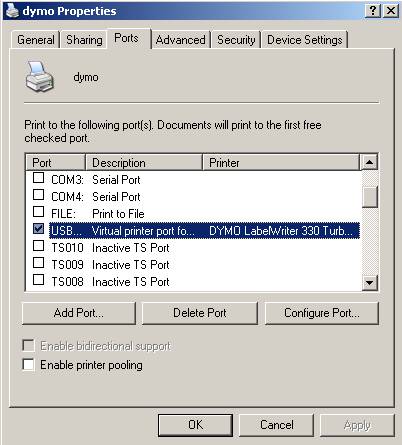
10. Click on the Ports tab.
Note: As of 06/2015, Prime Clinical supports the Dymo Label Writer 450.
10.1 Select USB…Virtual printer port…DYMO LabelWriter 330…, as shown above, and then click on the [OK] button.
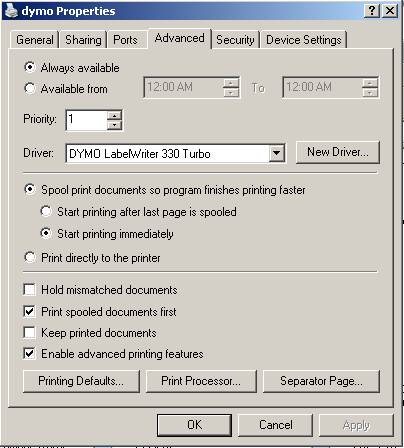
11. Click on the Advanced tab.
Note: As of 06/2015, Prime Clinical supports the Dymo Label Writer 450.
11.1 Verify that the settings are as shown above, and then click on [OK].
12. Click on the Security tab.
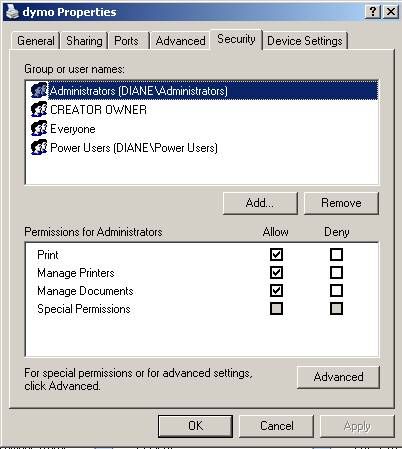
12.1 Verify that the correct option is highlighted in Group or user names.
12.2 Verify that Print, Manage Printers, and Manage Documents have been set to Allow.
12.3 Click on the [OK] button.
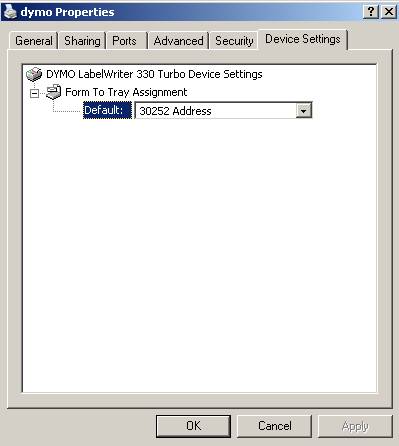
13. Click on the Device Settings tab.
Note: As of 06/2015, Prime Clinical supports the Dymo Label Writer 450.
13.1 Verify that the settings are correct and click on [OK].
14. Reboot the computer if a message displays indicating that the system needs to be rebooted.
15. Go to Utility --►Set Up --►Printer --►Devices
15.1 As shown above, the <Direction> field should be set to ‘G’ and the <Capability Code> field should be set to ‘GP.’
15.2 For additional information, refer to the documentation for Utility --►Set Up --►Printer --►Devices.
The Dymo Label Printer can print labels selected via these Intellect options:
• Schedule --►Recall --►Print --►Batch of Patients
• Right-click menu option Print --►Selected Patient Label
16.1 Select Registration --►Labels to display these menu choices:
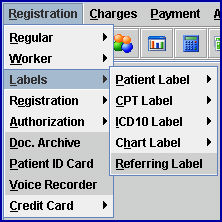
16.2 For additional information for each label type, please refer to the online documentation for that label.
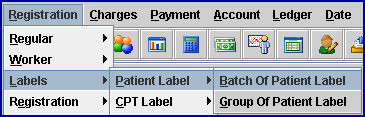
16.3 Batch and Group submenus are available from the Patient Label, CPT Label, ICD9 Label, and Chart Label options. Labels may be printed on the Dymo Label Printer from the Batch submenus (such as Batch Of Patient Label shown below).
16.4 For more information on printing to the Dymo printer, see the Print Labels section.
17. Schedule --►Recall --►Print --►Batch of Patients
In addition to printing individual (or a small batch) of recall letters or a list of selected recalls, this option can also be used to print address labels for selected patient(s):
17.1 Enter the patient account number(s) in the <Account No> field. For more information, refer to the Schedule --►Recall --►Print --►Batch of Patients online documentation.
17.2 In the <Print Type> field, select the PATIENT_LABEL option from the drop-down list.
17.3 Click on [Print] to display a printer dialog box. For more information on printing, see the Print Labels section.
18. Right-Click Menu Option Print --►Selected Patient Label:
18.1 The right-click menu option of Print --►Selected Patient Label (formerly 'Label'; renamed in version 18.08.31) may be used only with the Dymo Label printer; it does not work with a dot matrix or laser printer.
18.2 Labels printed using this option contain the patient’s name, age, DOS (date of service), DOB (date of birth), phone number, and address. The label prints up to 25 characters of the Patient Name, up to 25 characters of the patient’s street address, up to 12 characters of the city, and 5 characters of the zip code. For example:

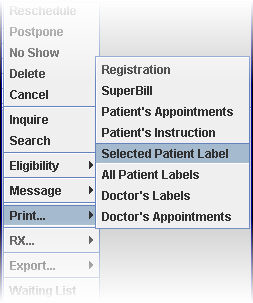
18.2.1 To print a patient label from the Appointment Schedule, highlight the desired patient and right-click on the mouse to display the right-click menu.
18.2.2 Click on Print and then on Selected Patient Label (see below) to display the Print APP_LABEL printer dialog box. For more information on printing, see the Print Labels section.
18.3 Labels may also be printed on the dymo label printer for the Print --►All Patient Labels and Print --►Doctor's Labels options using the above steps. For more information on these types of labels, see Schedule --►Appointment --►Full Day --►Schedule Overview & Right-Click Menu -- All Patient Labels and Doctor's Labels.
19. Use one of the options in the Select Labels to Print section above to display a printer dialog box. For example:
20. Select the Dymo printer option from the drop-down list in the <Printer> field, as shown above.
20.1 If a Dymo label printer is not set up, or if it is set up incorrectly, an error message displays:
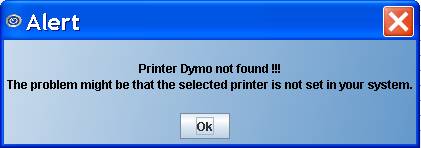
20.2 If the Dymo label printer is not connected, this screen displays:
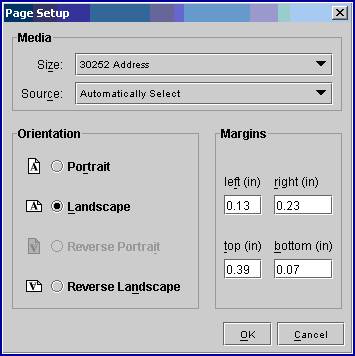
21. Complete the information on the Page Setup box, as shown in the example above, and then click on the [OK] button at the bottom of the box.
21.1 Note: Every time labels are selected to print, the margin settings must be entered (landscape may be saved, but the margin settings need to be selected each time).
21.2 Please contact Prime Clinical Support if help is needed in setting the margin and aligning the labels.