Intellect™
UTILITY MENU OPTIONS

Set Up
Printer
Capability
Add
This option tells the printer how to function; i.e., to form feed or not, what fonts and forms to load, and more. This area is maintained by your vendor.
1. To set up a printer device in Intellect, go to Utility --► Set Up --► Printer --► Capability --► Add
The Add PCAP_ENTRY screen opens:
2.1 Enter the Device Code set up for the physical printer; i.e., HP, printer. When setting items for viewing after the physical printer's item is entered, use PDF.
2.2 Type the code and press [Enter] and the multi-line display appears:
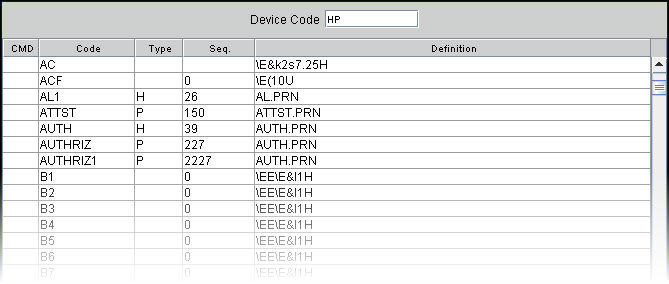
3. CMD 
3.1 Available commands: 'A' add, 'M' modify, 'D' delete, and ESC clear.
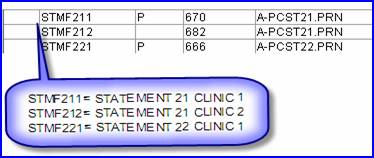
4.1 Type the code that corresponds to the one in Report Designer.
4.2 This code must be appended by the clinic number.
4.3 When printing a barcode on a super bill that PCM can read, the <Code> field should be BRC39 and the <Definition> field should be "\E(12X".
5. Type 
5.1 Enter 'P' for any entry to be active; otherwise, leave this field blank.
6. Sequence 
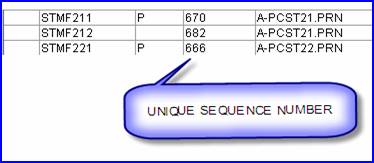
6.1 The sequence number tells the printer which item to print.
6.2 For custom statements and reports the sequence number must be unique.
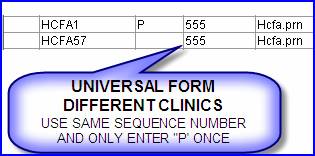
6.3 For Universal forms such as HCFA (s), use the same sequence number for all instances when multiple clinics are entered.
6.4 When configuring items for printing to view (Device Code PDF), the sequence number does not need to be unique.
7.1 The definition is the exact name of the form's file.
7.2 Printed forms have a .PRN extension while viewed forms have .PDF.
7.3 When printing a barcode on a super bill that PCM can read, the <Code> field should be BRC39 and the <Definition> field should be "\E(12X".
Step-by-step for loading forms
1. The form must exist in Utility --► Tools --► Report Designer.
1.1 Click the second icon; i.e., 'Open Report':
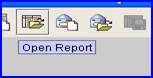
1.1.1 This box opens:
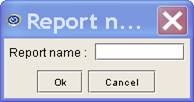
1.2 Press [F2] to search for and verify the existence of the form.
2. Set up the Utility --► Set Up --► Printer --► Capability for the form.

2.1 HP and PRN files must be available. PCAP entry must always be set up first. If PRN is available, create it first and then create the PDF.
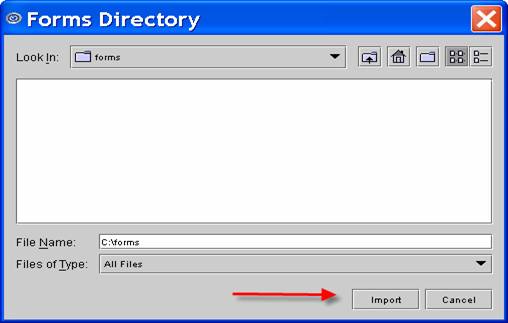
3. Go to Misc --►Import forms to open the path to the directory where forms are stored.
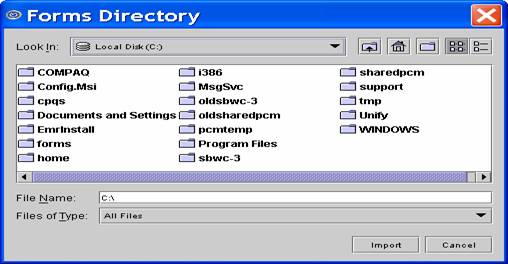
3.1 Once the directory is selected, click the [Import] button:
This box displays:
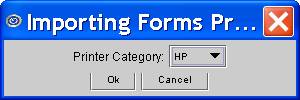
3.2 If the correct Printer code is displayed, click [OK] OR use the drop-down to locate the printer.
4. Go to Misc --►Load Forms. The print dialog box displays:

4.1 Select the exact name of the physical printer from the drop-down and click [Print].
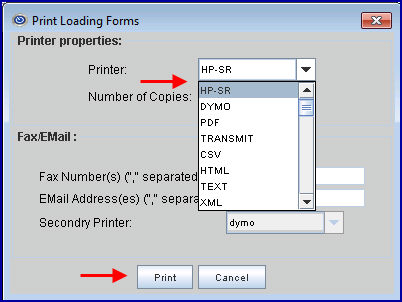
4.1.1 Selecting the wrong printer generates this error message:
4.2 If the correct printer is selected, you are finished!