Intellect™
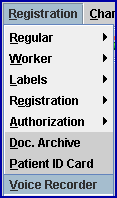
REGISTRATION MENU OPTIONS

Voice Recorder
This option allows the recording of patient names for use with Intellect's CallSTAFF Automated Appointment Reminder program. For information on this feature and necessary equipment, refer to CallSTAFF Automated Hardware Requirements.
Note: Patient names cannot be recorded if the system has Windows 2007 or Vista.
CallSTAFF Automated Appointment Reminder has three recorded messages to select from. If the office selects a recorded message that does not include the patient's name, it is not necessary to use the Voice Recorder.
Voice Recorder Set Up
NOTE: Before recording, recordersetup.bat must be run. It is located in home/staff/app and is a batch file which sets up the recorder so the recordings are saved in the correct format. Simply click the icon to run the program.

1. To record audio for names for Intellect's CallSTAFF, go to Registration --►Voice Recorder
The Patient's Name Voice Recorder screen displays:
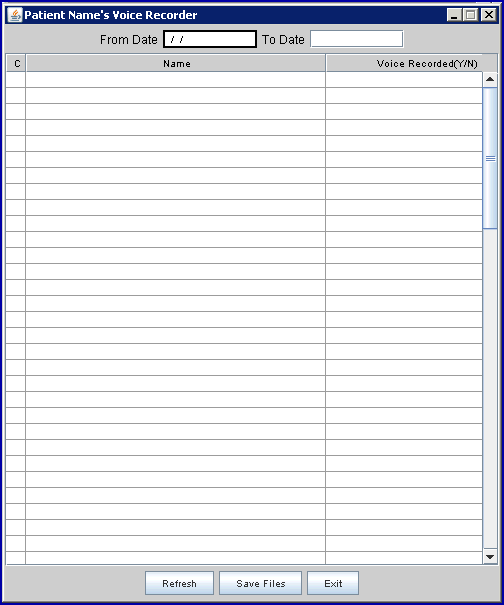
2. Enter a date range of appointments to search for scheduled names.

Remember that if patients will be called for two dates prior to when names will again be recorded, the entire date range should be entered. For example, if Monday appointments are called on Saturday, and Tuesday appointments are called on Monday, both dates need to have their names recorded on Friday. Names should be recorded daily to ensure that reminder messages are not missing patient names.
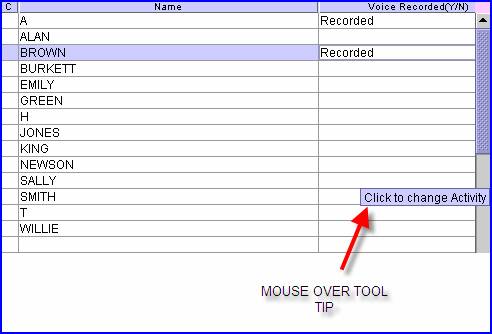
3. Name 
Intellect returns all scheduled patient names as Last and First for any scheduled patient whose name has not been previously recorded. Names are not repeated.
First and Last names are treated as separate items, appearing on different lines.
Once a name has been recorded and saved to the server, it does not appear on this list again.
Example: Bob Smith, Tom Smith, and Edward Smith would create one entry for 'Smith' and three different entries for the first names. If later a Betty Smith were scheduled, only the name 'Betty' would appear on the list.
4. Begin Recording
Step 1: Click on the patient's name to open the Sound Recorder application:
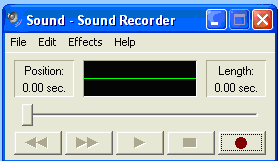
The Sound Recorder Buttons are:
![]() Rewind
Rewind
![]() Fast Forward
Fast Forward
![]() Forward
Forward
![]() Stop
Stop
![]() Record
Record
Step 2: Press the Recorder button and speak the patient's name immediately after pressing the recorder button, then press the stop button immediately after speaking the patient’s name. Press the button to immediately alleviate static and eliminate a delay in speaking the patient’s name.
Step 3: To playback the recording, select the rewind button (this rewinds the recording to the beginning) and then select the play button. It is not required to listen to each recording.
Step 4: To save the recording, select the File Menu and then Save. This saves a copy of the recording on the local workstation in the home/staff/wav folder.
Step 5: To close the Sound Recorder box, click on the 'X' in the upper right-hand corner.
Step 6: Voice Recorder (in Onstaff Intellect)
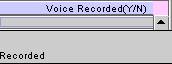
Click in the <Voice Recorded(Y/N)> field and then select the 'Recorded' option to indicate that the name has been recorded.
Step 7: After recording all desired names, select [Save Files].

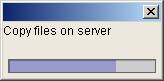
Intellect copies the new recordings to the clinic's server.